A bicycle is one of the easiest things to push into a corner and forget about, and one of the fastest to punish you for it. Bicycle storage for a few months, whether you are moving between apartments, renovating, travelling abroad or simply not riding through the winter, is not only a question of finding space. Tyres lose pressure and deform, a dry chain starts to rust, brake components stiffen and an e-bike battery can lose capacity permanently. If you live in a small Tel Aviv flat or you are heading overseas for a semester or a work posting, this guide covers how to prepare the bike, how to handle the battery, how to arrange bikes in a storage unit, and which mistakes cause most of the damage.

A bicycle is a mix of materials that age at different rates. The frame may be aluminium, steel or carbon, the drivetrain is exposed metal protected by a thin film of oil, the tyres and seals dry out, and the brakes rely on cables or hydraulic parts that absorb moisture. Leave all of that in a damp corner for six months and you do not simply get a dirty bike. You get one that needs a workshop visit before it is safe to ride.
In Israel there is a multiplier. Coastal humidity stays high for most of the year, and the day to night temperature swing creates condensation on cold metal. On a service balcony or in an underground car park, a single season is enough to leave rust spots on the chain and on every exposed bolt. One to two hours of preparation prevents almost all of it.
The principle is simple: what goes into storage should be clean, dry and lubricated. Dirt is not just cosmetic, it holds moisture against paint and metal for months. The correct order is clean, dry, lubricate, and only then cover.
Start with a gentle wash of the frame, wheels and rims using lukewarm water and a little dish soap. Avoid a high pressure jet, which drives water past the seals and into the hubs. Pay particular attention to the drivetrain, where old oil and road dust combine into a paste that keeps grinding away as long as it sits there.
Wipe the chain with a dry cloth while turning the pedals backwards. If it is black and sticky, use a bicycle specific degreaser and a stiff brush. Clean the chainrings, the cassette and the small jockey wheels on the rear derailleur, where build up is easy to miss at a glance. Rinse with clean water and move straight on to drying.
Wipe every surface with an absorbent cloth and leave the bike in room air for at least two hours, until it is completely dry to the touch including the hidden areas. In humid coastal areas extend that to several hours, or simply leave it overnight in a ventilated room. A bike that goes under a cover while still damp creates exactly the environment you were trying to avoid.
Rust almost always starts in the same places: the chain links, bolt heads, the stanchions of a suspension fork and brake cables where they exit the housing. When you check a bike after storage, start there. A light surface spot wipes off with a cloth and oil, while rust that has worked into the chain links means a new chain.
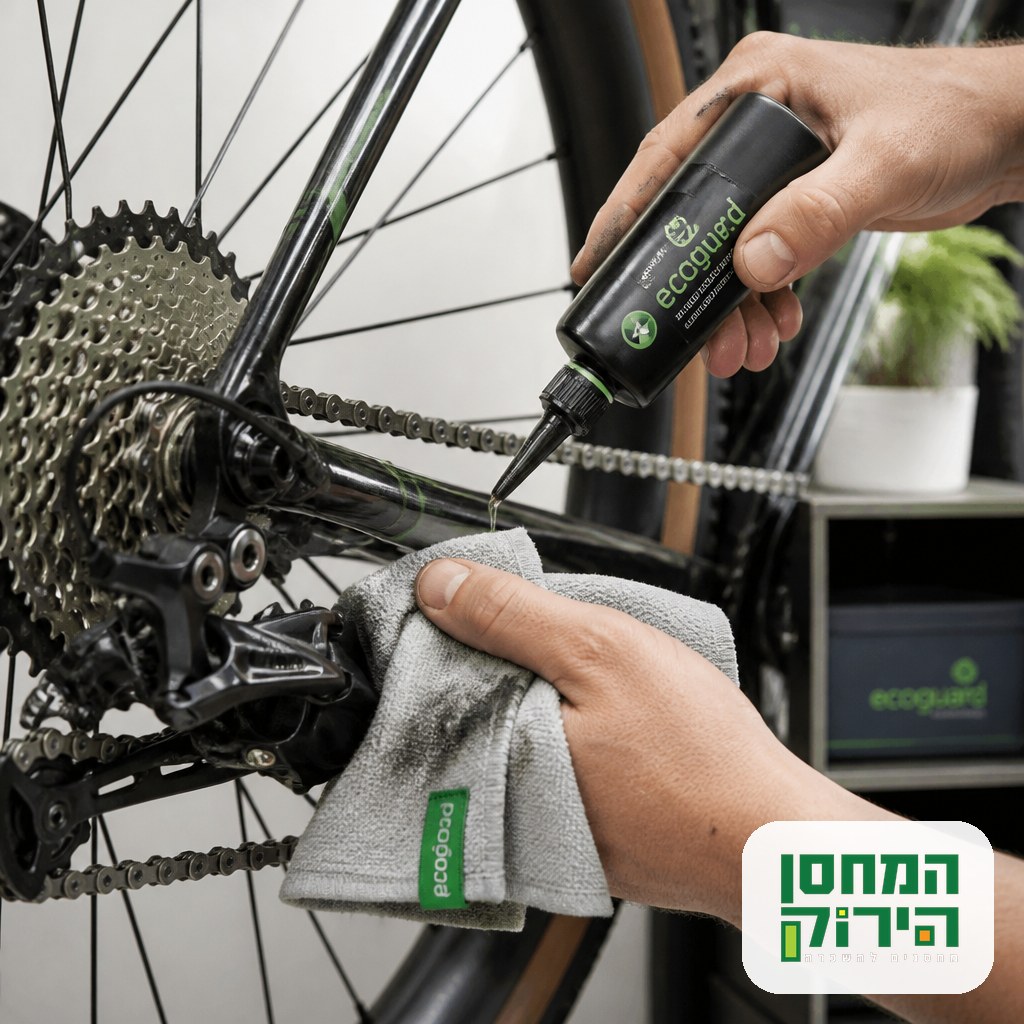
Once the bike is dry, lubricate the chain link by link with a proper bicycle oil and wipe off the excess so it does not attract dust. A drop on the derailleur pivots and jockey wheels keeps them moving freely. It is also worth removing the seatpost, cleaning it and applying a thin layer of the correct grease or carbon paste before refitting, so it does not seize after months of standing still.
Tyres lose air even when nobody rides, and a bike left standing on a flat tyre can develop a flat spot in the sidewall and even damage the rim. Inflate to the pressure printed on the sidewall before storing, and if the bike stays on the floor, move it slightly every few weeks. On disc brakes, make sure the pads are free of oil, and if you remove a wheel, fit a pad spacer so the pistons cannot close on themselves.
On an e-bike the battery is the most expensive and most sensitive component, and it decides whether the bike comes back to full use. Lithium batteries dislike two extremes: sitting empty for long periods and sitting fully charged for long periods. Both accelerate chemical ageing that cannot be reversed.
Most manufacturers recommend storing the battery partially charged, at roughly half capacity, neither empty nor full. If the storage period runs longer than a few months, check the level every couple of months and top it up briefly if it has dropped too far. Keep the battery separate from the bike, in a dry shaded place, and never leave it in a parked car in the sun.
Before the first ride, charge the battery fully and confirm that it reaches a sensible capacity and that the display gives a stable reading. If it drains unusually fast or the motor responds sluggishly, that is the moment to visit a service point rather than set off on a long ride. Check the brakes and tyre pressure too, since both always change after a period of standing.
Good arrangement saves space and prevents damage, especially when several bikes share a unit with the rest of your household items. The guiding principle is to lift the bikes off the floor, give them air, and keep frames from touching each other.
If the bikes share the unit with furniture and boxes, plan the layout so they stay accessible at the front rather than trapped behind heavy items. Anyone storing a full household at the same time will find the practical detail in our guide to apartment storage during a move, which explains how to organise a whole unit efficiently.
Storing over one season, for a winter or a short renovation, mainly needs cleaning, lubrication and correct tyre pressure. A longer period also calls for periodic battery checks and a unit chosen for stable conditions. If you are leaving the country for a year or more, long term storage for extended trips abroad is usually the better fit, and it is worth comparing sizes on our range of self storage units and sizes before you decide.
Most of the damage we see when customers collect their bikes comes from a small number of shortcuts that repeat again and again:
A building storeroom, a service balcony or a corner of the car park looks like the free and convenient option, but it is usually the worst environment for a bicycle: temperature swings, humidity, dust and, in many buildings, a real theft risk. A proper storage unit gives you a dry secure space where the bike can hang correctly and stay easy to collect when you want to ride again. There is a space benefit too. A family with three or four bikes frees up a meaningful part of a small apartment, and bikes stored properly come back ready to ride rather than ready for an expensive service.
Good bicycle storage comes down to four principles: clean and dry before covering, lubricate the drivetrain, inflate the tyres, and hang or stand the bike off the floor under a breathable cover. On an electric bike, add storing the battery separately at roughly half charge. An hour or two of preparation saves an expensive service later and gets you riding the same day you collect the bike. If you are unsure what size you need or how long to book for, talk to our team about your storage options and we will match a unit to what you actually have.
The hands on work takes one to two hours per bike: cleaning, drying, lubricating and inflating. The long part is passive drying time, so plan the preparation for the day before the move rather than the same morning. In humid coastal areas, leave the bike to dry overnight in a ventilated room.
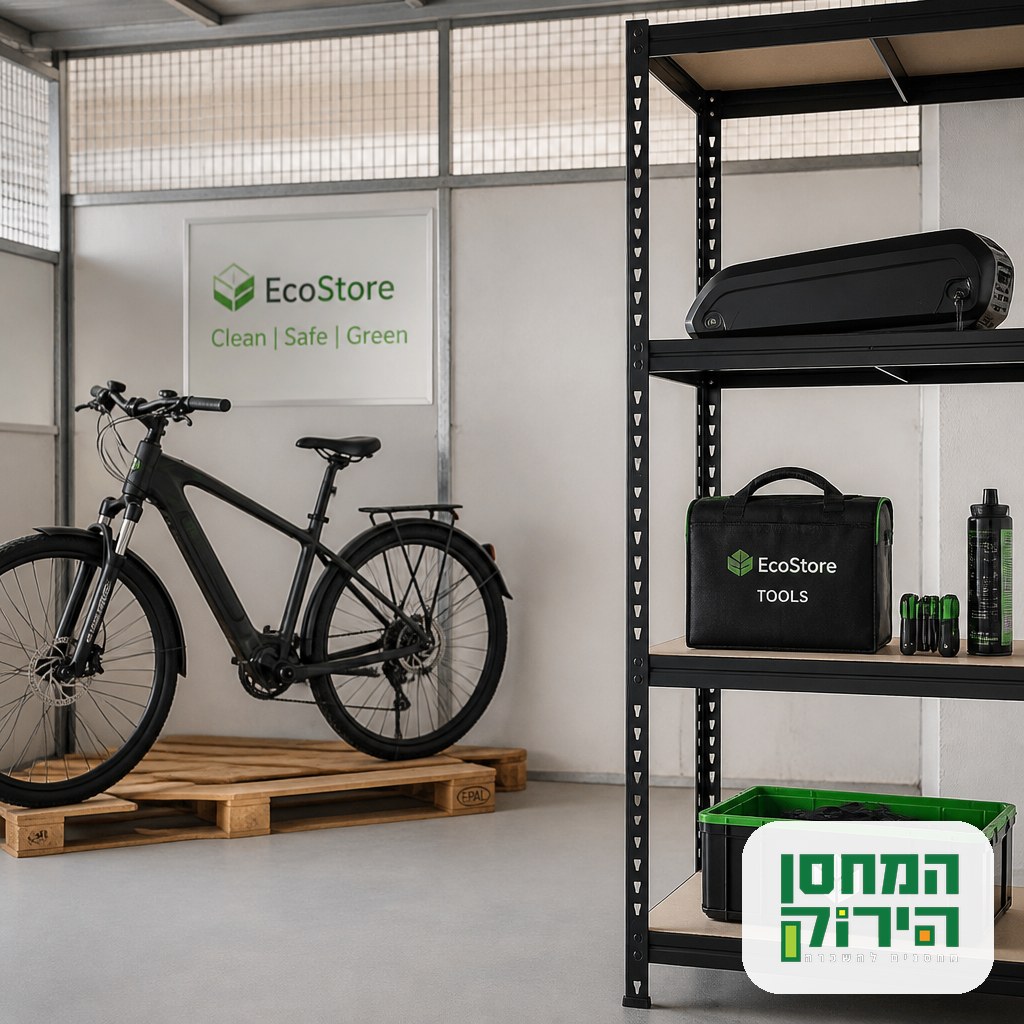
Hanging is better for longer storage because it keeps sustained pressure off the tyres and rims and frees floor space. If hanging is not an option, stand the bike on a pallet or thick cardboard and inflate the tyres to the recommended pressure. Either way, leave an air gap between the bike, the walls and other items.
Remove it from the bike and store it separately in a dry shaded place at roughly half charge, never completely empty and never at a permanent full charge. For storage longer than a few months, check the level every couple of months and give it a short top up if it has dropped too far.
Usually not. Removing the front wheel mainly helps when you need to save space or box the bike. If you do remove a wheel on a bike with disc brakes, insert a pad spacer so the pistons do not close, and keep the axle and quick release in a labelled bag that stays with the bike.
Yes. At Green Storage you can insure your stored belongings with comprehensive cover that includes earthquake damage, so expensive road bikes and electric bikes are protected for the whole storage period. The rate is 1.8 shekels per month for every 1,000 shekels of declared value, and the cover can be matched to what your equipment is actually worth.
A hanging bike takes up relatively little volume, and several bikes fit into a compact unit when arranged properly. The exact size depends on how many bikes you have and whether anything else is going in with them. The safest approach is to describe what you are storing and get a size and period matched to it.

How can we help you today?